Thursday, January 16, 2014

Link to All assignments [Please grade assignment that need grading]

Here a convince(?) link to everything (not really but most thing other i didn't put on here I feel like it doesn't need to be here) I did in this class (since I have no idea what need to be graded and what doesn't) in chronological order: 

Or lick the assignments list button on the right of the blog >>>
* a side project not an assigned work
  1. Temple
  2. Extruded along the path
  3. Egg & Holder
  4. Salt Shaker
  5. Beveling 
  6. Deformers
  7. Deformers with stack
  8. Sketch book Pro experiment 
  9. Helmet 
  10. Treasure Chest*
  11. Chrome ball experiment 
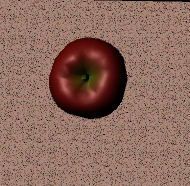
  12. The apple
  13. The Orange
  14. The Table lighting 
  15. One point lighting setup 
  16. One point light with MIA render
  17. 20 Abstract photography
  18. 5 compositional photography rule
  19. Vocab # 1
  20. Vocab # 2
  21. Vocab # 3
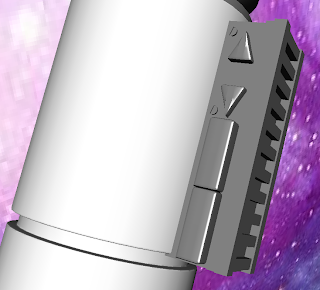
  22. Light Saber

Vocab Review #1


  • Analogous Colorsgroups of colors that are adjacent to each other on the color wheel.
  • Complementary Colorscolors directly opposite each other in the color spectrum.
  • Primary Colorsany of a group of colors from which all other colors can be obtained by mixing.
  • Secondary Colors a color resulting from the mixing of two primary colors
  • Tertiary ColorsA tertiary color is a color made by mixing either one primary color with one secondary color,
  • Asymmetry lack of equality or equivalence between parts or aspects of something; lack of symmetry.
  • Symmetrythe quality of being made up of exactly similar parts facing each other or around an axis. 

[FINSIHED] 5 compositional demonstration

These 5 best demonstrated the compositional rule:

this one best demonstrated the use of color to grab viewer attention

this image use the blur technique 

(if cropped more properly )this image will fit the rule of third

this one demonstrated the selective focus technique 

this image demonstrated the partial object technique


[FINISHED] MIA RENDER

Original image 
 I try to experiment with different render option and see how it would look here is a few of them 


frosted glass

solid glass

Ceremic

Copper

Friday, January 10, 2014

[FINISHED] 20 Abstract Photography

Here is my 20 abstract pictures. Since I don't have camera I just use my phone camera. Mostly I choose these because they appeal to me as aesthetically. I think some of these may not be consider "abstract" becasue you can clearly see what it is but yet it not just a regular landscape so I think it will be ok. 


[FINISHED] One point lighting


Here is my one point lighting image. One point lighting is pretty much a spot light focus only one the main object.

kind of look like a skull


Monday, January 6, 2014

[FINISHED] The Table Light mini project

room base
In this lesson we are learning about lighting, shadow and camera first you have a base of the room scene.

We use directional light for wide area and spot light for the lamp so it would focus in one area


 This is after all light install

this is after rendering so the shadow and shade of gray could be seen.

[FINISHED] The Orange mini project

base
We start of with this pre made circular figure with bump on top resembling an orange.


 After applying the bump map to the orange
note that it doesn't appear until you look at it in the render.

This is what it actually look like with bump it look more liek real orange and not just a round rubber orange circle.

You can also do it via Interactive Placement and you would be able to scale it on the spot 

Wednesday, January 1, 2014

[FINISHED] The Apple mini project

this mini lesson teach the basic of rendering and material. In this lesson I get to learn about different material and how it look after render. 
base
Since in the beginning the tutorial have you experiment with the basic material like Blinn and Lambert so that the texture or the look of the object. For example Blinn have shiny surface while Lambert is more dull.  
After than we add color and texture so this is how it look in the render. 
front view, rendered

The image is a little different from what is being display in the work space this is the render version. So it look much more realistic and textured.


In this lessons we also get into a little bit of animation we get to see
camera tumble and show it moving around the apple at 200 frame per second. It was simple yet quite amusing.

top view, rendered